How to Create a New Brand
Creating a new brand within Sygnal.io can be done in two simple ways. This guide will walk you through both methods, as well as the onboarding process for setting up your brand. Follow these steps to ensure seamless integration and tracking.
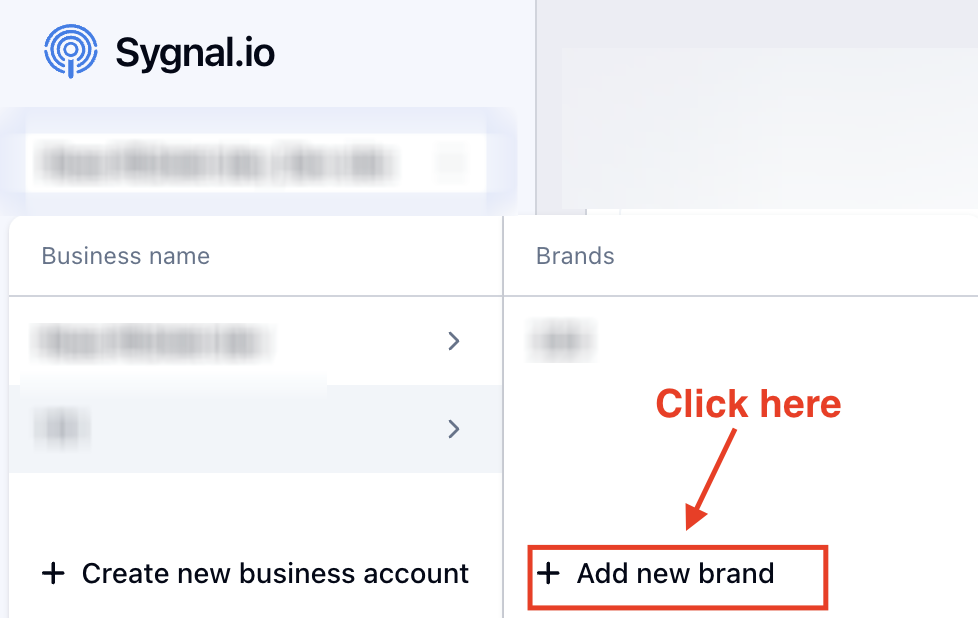
#Method 1: Sidebar Selection
- Access the Sidebar: In the sidebar, locate the select dropdown for businesses and brands.
- Select Business: Click on the select dropdown to view the list of businesses.
- View Brands: Hover over a business to see its associated brands.
- Add New Brand: Below the list of brands, click the "Add New Brand" button.
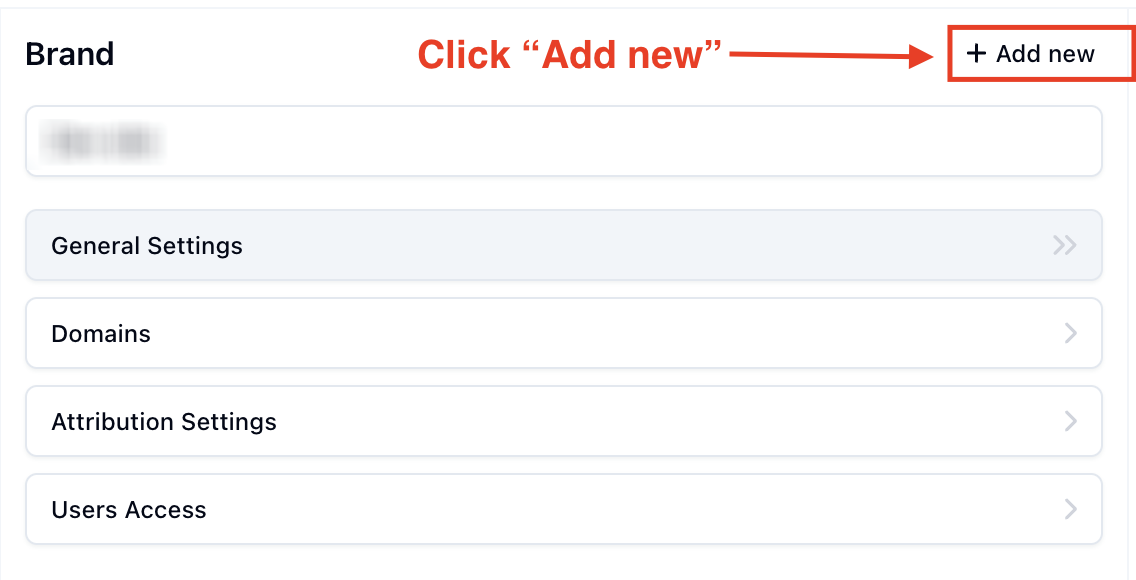
#Method 2: Business Profile
-
Navigate to Business Profile: Go to the Business Profile page.
-
Locate Brand Column: In the Brand column, find the "Add New" button.
-
Create New Brand: Click the "Add New" button to start the brand creation process.
#Onboarding Flow
Step 1: Set Up Your Brand
- Brand Name: Enter the brand name.
- Business Category: Select the business category.
Step 2: Additional Brand Details
- Domain Name: Enter the domain name.
- Time Zone: Select the appropriate time zone.
- Currency: Choose the currency for your brand.
Step 3: Create Tracking Gateway
- Subdomain: Customize the subdomain if desired.
- Confirmation: A modal will appear confirming the addition of your domain.
Optional Steps
- 1st-Party Tracking Script: Copy the Sygnal Pixel Code for integration.
- Add Custom Pixel Script: Copy the CustomerLabs Tag for Shopify, ClickFunnels, WooCommerce, ClickBank, or custom integrations.
- Add Destination: Connect to FB Conversion API, Google Analytics GA4, or TikTok.
Final Steps
- Connection Established: A modal will confirm that the connection is established.
- Access Dashboard: Click the blue "Continue" button to proceed to your dashboard. Your newly created brand will be visible in the select dropdown for businesses and brands.
By following these steps, you can efficiently create and set up a new brand in Sygnal.io, ensuring all necessary tracking and integration features are in place.